
A
Alyssa Rivers
Guest

This delicious Brazilian cheese bread has a perfect combination of delicious taste and texture. Filled with pockets of airy goodness that taste so cheesy, that you won’t be able to stop at just one!
I love Brazillian cheese bites because they make the perfect side or appetizer! Make this a meal by serving these with some steak, roasted garlic broccoli, and a classic arugula salad.

What is Brazilian Cheese Bread?
This Brazilian cheese bread recipe is one that you will always want to have on hand after you cook it! Brazilian cheese bread is a delightful, airy bread that is in the shape of bite-sized rolls. Known as Pão de Queijo in Brazil, this popular bread has made its way to the states, and boy are we grateful! The bread dough has parmesan, and white cheddar cheese and the ingredients are all baked together to form the most delightful roll.
This Brazilian cheese bread has a base of tapioca flour (making it gluten-free!), and this helps to create that light and airy texture that is necessary for Brazilian cheese bread. This recipe is so simple and easy and will be on your weekly rotation to go with all of your meals. I am sure of it! Try this out and make it alongside some meat and a salad for a dinner that your whole entire family will love!
Ingredients to Make this Bread
Even though this Brazilian cheese bread is from Brazil, you can make it at home with just a few simple ingredients! Check out the recipe card at the bottom of the post for exact measurements.
- Tapioca Flour: This keeps this cheese bread gluten-free and delicious!
- Butter: I used unsalted butter in this recipe.
- Milk: Whole milk works best in this recipe because it has a higher fat content which is good for this bread!
- Salt: The salt will enhance the flavors of all of the ingredients in this bread.
- Parmesan Cheese and White Cheddar Cheese: These cheese are what make the bread so incredibly delicious!
- Eggs: I always use large eggs when I cook a recipe.
How to Make Brazilian Cheese Bread
This bread is quite simple to make, and it yields a large amount! I like to double the recipe if I am bringing it to a party or using it as an appetizer. It flies off the table so fast that I am always glad to have extras!
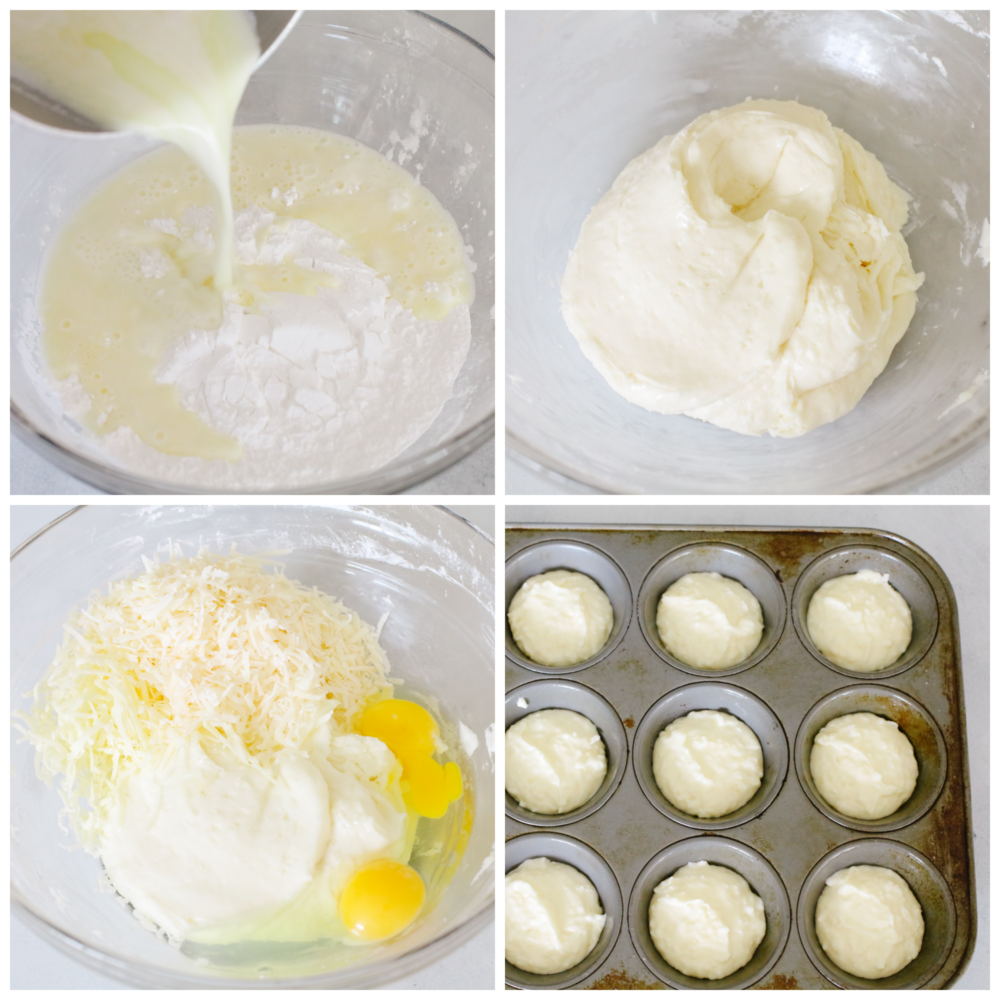
- Prep: Preheat the oven to 375°. Add the tapioca flour to a large bowl and set aside.
- Mix and let dough rest: Add the butter, milk, and salt to a medium saucepan and heat over high heat. Bring to a boil and remove from the heat. Pour the hot liquid over the tapioca flour and mix until smooth. Set aside to rest for 10-15 minutes.
- Add eggs and cheese and then knead: After the dough has rested, add the parmesan, cheddar, and eggs. Mix until combined. Turn the dough out onto a clean surface and knead for about 10 minutes until smooth.
- Roll into balls: Drop 1-½ tablespoon sides scoops onto a baking sheet or into a muffin tin. If you want to roll them into balls, grease your hands with oil and roll before placing them on the baking sheet.
- Cook: Bake for 10-12 minutes, until the tops are lightly browned. Serve the Brazilian cheese bread warm.
Is Brazilian Cheese Bread Gluten Free?
Yes! Because this recipe uses tapioca flour as the base for the bread, this Brazilian cheese bread recipe can be eaten by any and all of your gluten-free friends! Plus, it’s super delicious, so no one should have to miss out!

Does it Need to be Refrigerated?
No! Once you have let your Brazilian cheese bread cool then it can be stored in an airtight container on your counter for up to 3 days. Reheat them in your oven at 200 degrees for about 5-10 minutes until they are warmed through or serve them at room temperature.

More Delicious Bread Recipes
If you are looking for more bread recipes to try out to go with any dinners that you make then I have some MUST try recipes for you! These are tried and true family favorites that even your kids will go crazy for! Try them out. There is something for everyone!
Bread
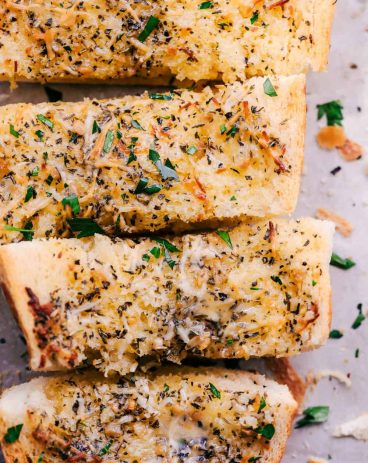
The Best Homemade Garlic Bread
Bread
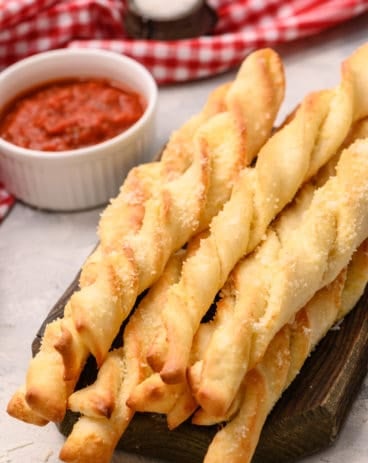
Homemade Breadtwists

Bread
Grandma’s Perfect Homemade Bread
Baked
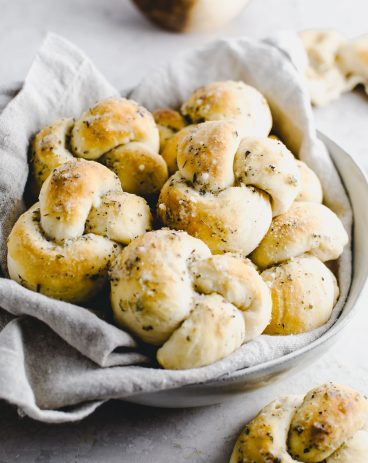
Easy Parmesan Knots

Brazilian Cheese Bread (Pão de Queijo)
This delicious Brazilian cheese bread has a perfect combination of delicious taste and texture. Filled with pockets of airy goodness that taste so cheesy, you won't be able to stop at just one!Course Appetizer, Bread, Side Dish
Cuisine Brazilian
Keyword Brazilian Cheese Bread, Pao de Queijo
Prep Time 30 minutes
Cook Time 12 minutes
Total Time 42 minutes
Servings 24 Cheese Breads
Calories 102kcal
Author Alyssa Rivers
Ingredients
- 2 Cups Tapioca Flour
- ½ Cup Unsalted Butter
- 2/3 Cup Whole Milk
- 1 Teaspoon Salt
- 1 Cup Freshly Grated Parmesan Cheese
- ½ Cup Grated White Cheddar Cheese
- 2 Eggs
Instructions
- Preheat the oven to 375°. Add the tapioca flour to a large bowl and set aside.
- Add the butter, milk, and salt to a medium saucepan and heat over high heat. Bring to a boil and remove from the heat. Pour the hot liquid over the tapioca flour and mix until smooth. Set aside to rest for 10-15 minutes.
- After the dough has rested, add the parmesan, cheddar, and eggs. Mix until combined. Turn the dough out onto a clean surface and knead for about 10 minutes until smooth.
- Drop 1-½ tablespoon sides scoops onto a baking sheet. If you want to roll them into balls, grease your hands with oil and roll before placing them on the baking sheet.
- Bake for 10-12 minutes, until the tops are lightly browned. Serve warm.
Nutrition
Calories: 102kcal | Carbohydrates: 9g | Protein: 3g | Fat: 6g | Saturated Fat: 4g | Polyunsaturated Fat: 1g | Monounsaturated Fat: 2g | Trans Fat: 1g | Cholesterol: 30mg | Sodium: 187mg | Potassium: 24mg | Sugar: 1g | Vitamin A: 205IU | Calcium: 78mg | Iron: 1mg
Continue reading...